In last article, we have discussed about WildFly-8 (New enhanced version on Jboss AS). We have gone through the new functionalities and features added/upgraded to this version. Today, in this post we are going to discuss about the CLI management using GUI and how to manage the Server using GUI version on CLI management.

Since Jboss AS 7, we have got a command line (CLI) tool for connecting to JBoss application and managing all tasks from command line environment. Some of the tasks that we can do using CLI console are as below.
- Deploy/Undeploy web application in standalone/Domain Mode.
- View all information about the deployed application on runtime.
- Start/Stop/Restart Nodes in respective mode i.e. Standalone/Domain.
- Adding/Deleting resource or subsystems to servers.
In this post, we are going to discuss about the different tasks and the way for launching CLI in GUI. Currently we can connect to GUI using two ways as shown below:
Method 1
By passing –gui option to “jboss-cli” script provided with Jboss/WildFly.
[root@tecmint bin]# ./jboss-cli.sh --gui
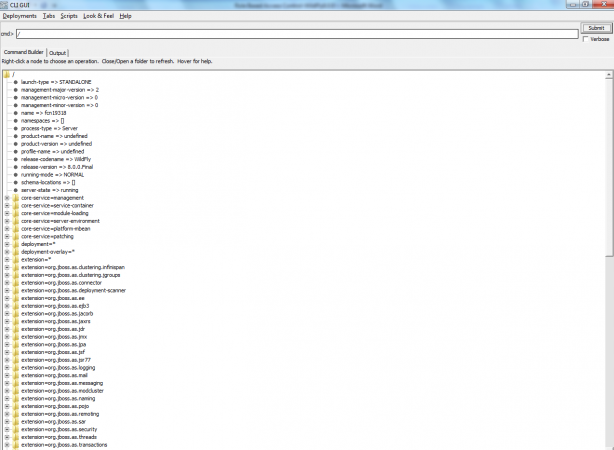
Method 2
Directly launching required jar from CLI (this is same which is in built in script itself).
[root@tecmint bin]# java -Dlogging.configuration=file:$JBOSS_HOME/bin/jboss-cli-logging.properties -jar $JBOSS_HOME/jboss-modules.jar -mp $JBOSS_HOME/modules org.jboss.as.cli –gui
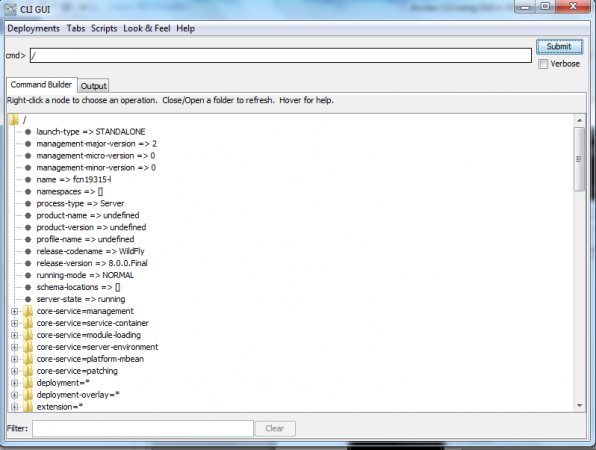
You can take help from tool tip available on each node.
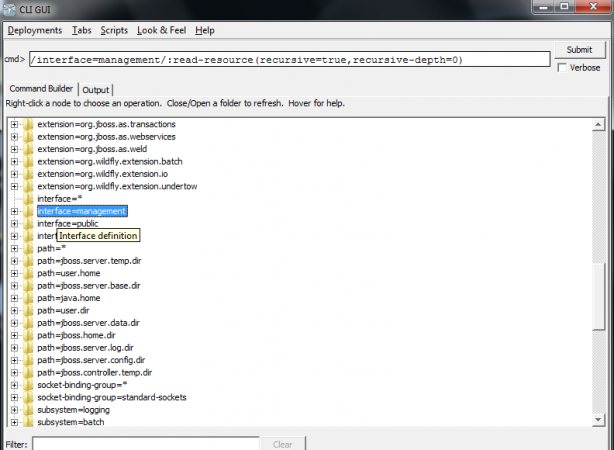
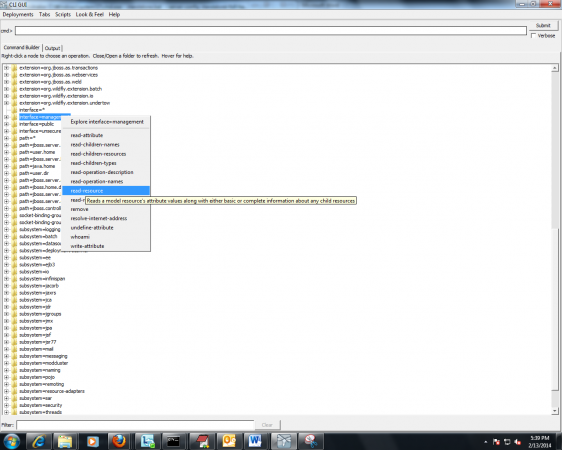
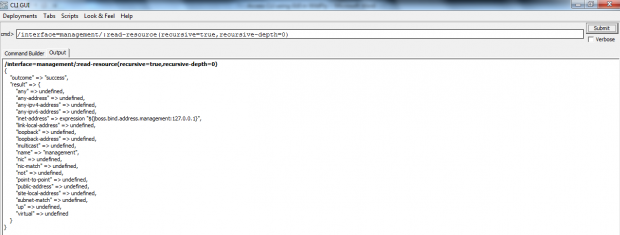
For Getting Information about the resources of any module, just right click on that node and click on “read-resource”. After entering required values, all will get entered in command bar. Finally, click on submit button and you will see all details in Output tab.
Deploy/Undeploy
WildFLy’s GUI environment also supports for the deployments and undeployments of the web applications via the “Deployments” menu.
Using this we can construct our commands which can deploy applications present on our local file System, i.e. we don’t need to connect and copy application to Server for Deployments.
Step 1: Click on “Deployments” menu and then deploy. It will open a new dialog box asking for the location of the Web Application need to be deployed.
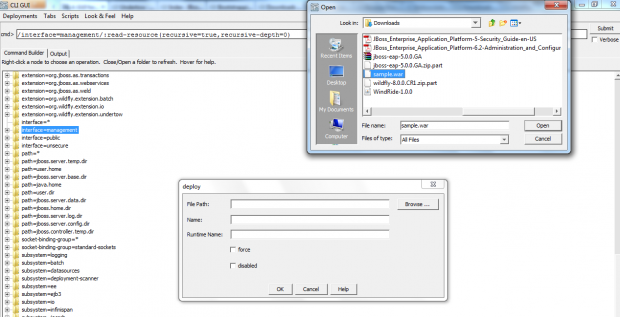
Step 2: Select your web application. Provide “Name” and “Runtime Name”. Along with this you have to disable or deploy it forcefully by using mentioned check boxes.
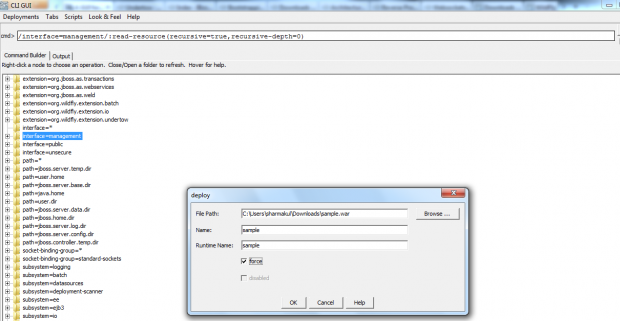
Step 3: Finally, click on Ok. After this you can see that it will create command within cmd box. Finally click on “Submit” button for submitting the deployment request.

Step 4: After submitting, if everything goes fine. You will see output message in “Output” tab.

Step 5: For Un-deployment of any application, again you have to click on “Undeploy” option available in “Deployment” menu. This will provide you new pop up containing list of all deployed applications. In my case I have only one application available. Select application need to undeploy and then click OK.

Creating and Executing CLI scripts
Whenever you click on option available on CLI’s GUI, then it creates corresponding command in its “cmd” prompt. Suppose, you have some task that you want to perform again and again. In that case you can avail use of “Script” execution facility available in this GUI version.
For example, Getting list of deployment resources, I have created a cli script and executed that from GUI as below.
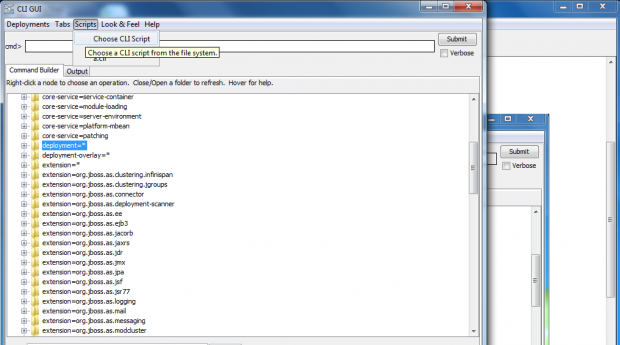
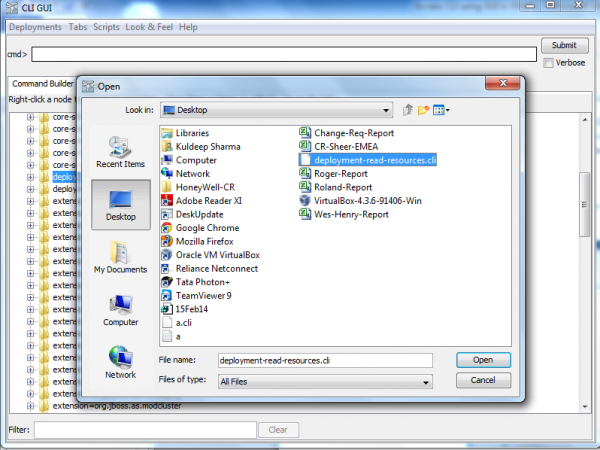
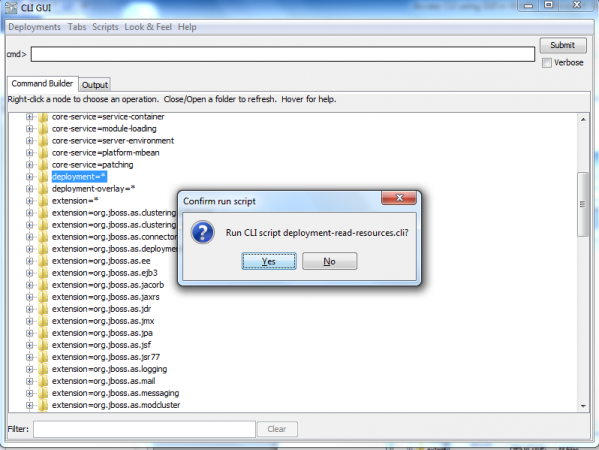
It’ll show you the description of all available deployment resources.
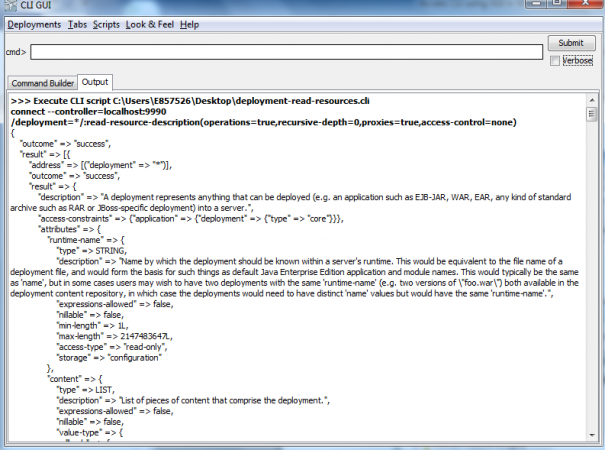
One more helpful feature available in GUI is that It automatically keep the history of last 15 CLI scripts. So, you don’t need to load same script again and again. This can be really helpful for some kind of repeating task.


